Japanese Handwriting: Write Beautiful Hiragana and Katakana
Why Handwriting Matters
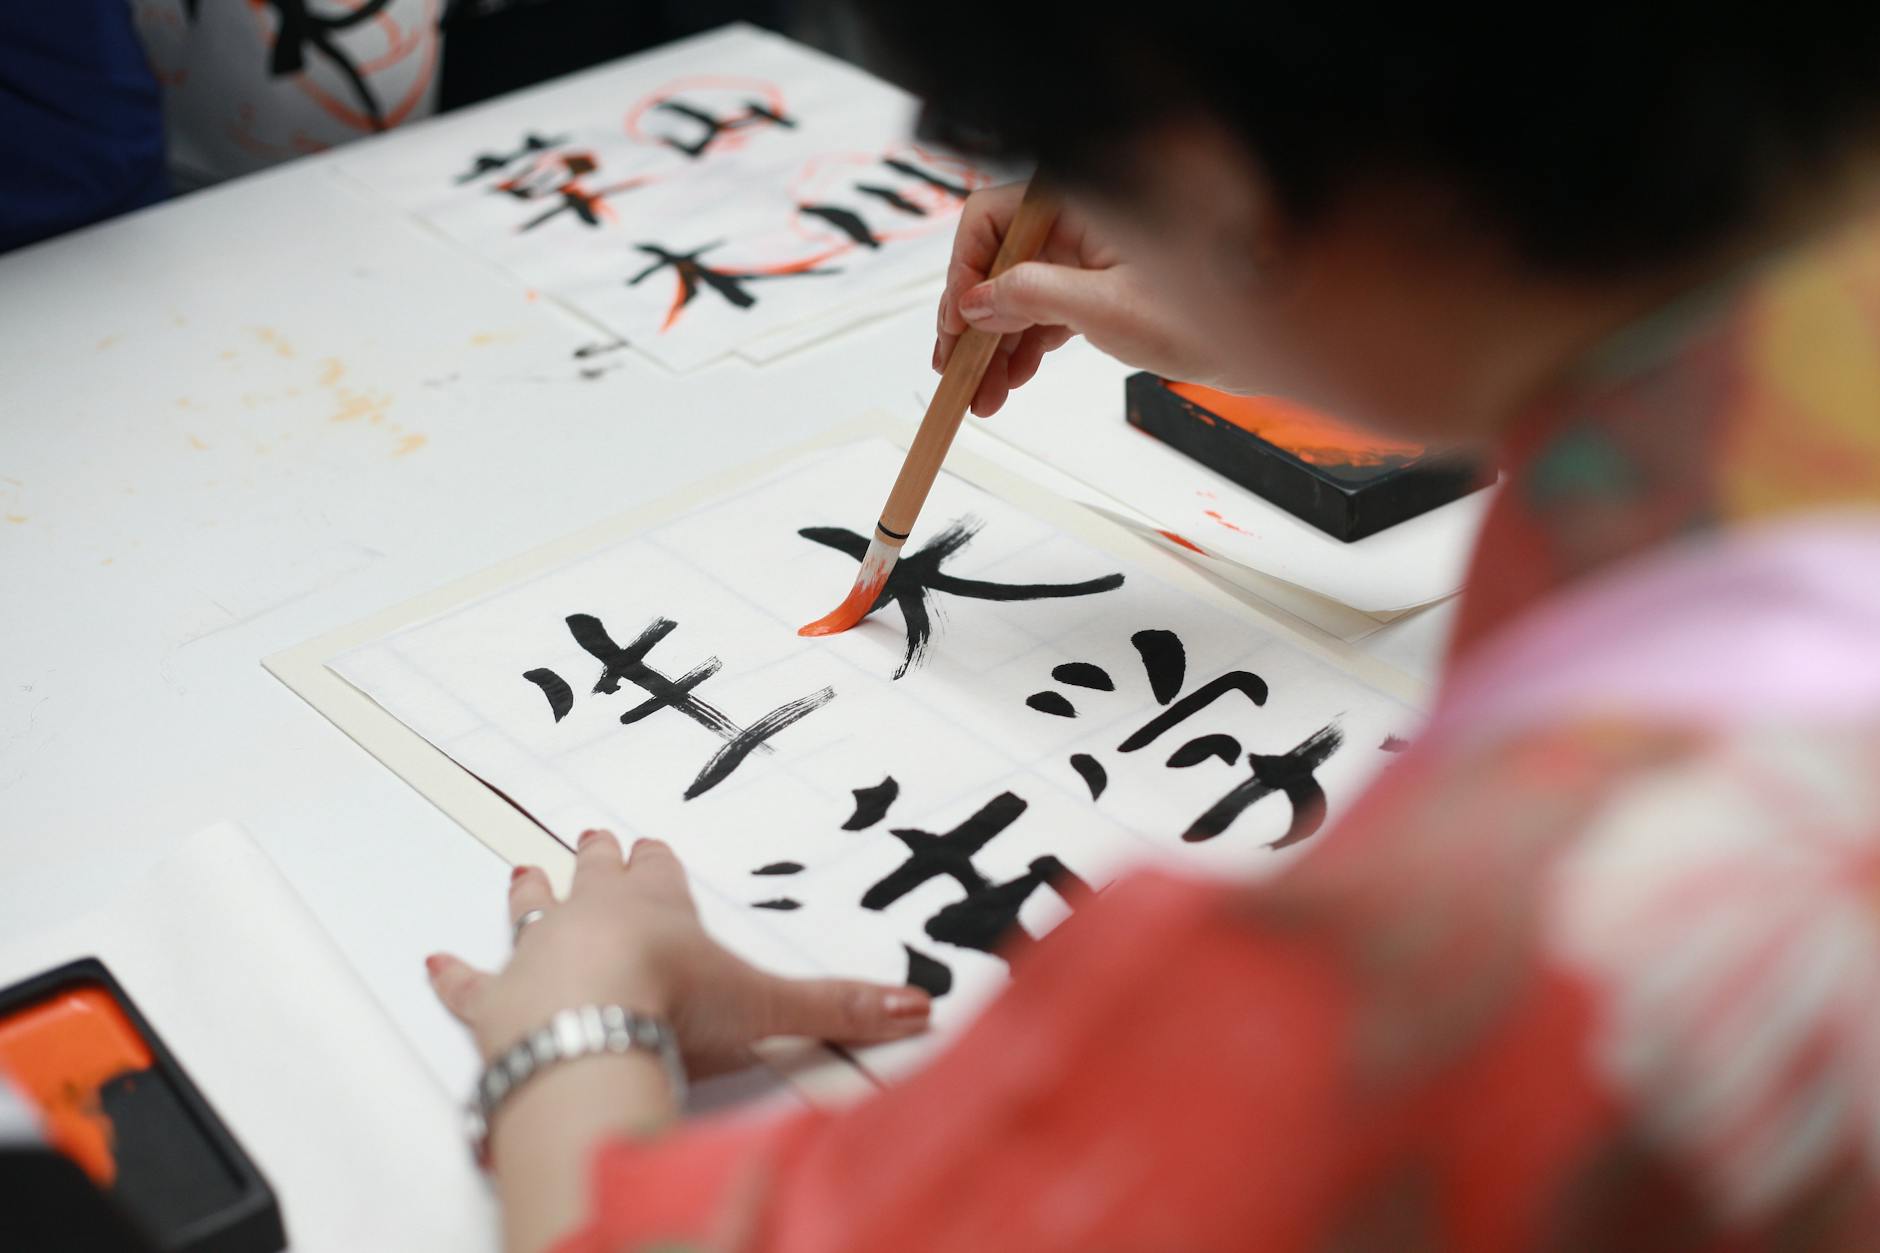
Studies in cognitive science show that handwriting engages different brain pathways than typing, leading to better character retention and faster recognition. When you physically draw each stroke, you create motor memory that reinforces visual recognition far more than typing or reading alone. Brain imaging studies have shown that the motor cortex, visual cortex, and memory centers all activate simultaneously during handwriting — a kind of triple reinforcement that simply does not happen when you tap a keyboard.
Handwriting remains necessary in Japan for writing addresses on forms, signing documents, leaving notes, sending greeting cards (年賀状), and taking meeting notes. Beyond necessity, many Japanese learners find that their reading speed increases dramatically once they have practiced handwriting — because you have internalized not just what a character looks like, but how it is constructed.
Stroke Order Rules
Japanese characters follow specific stroke order rules (筆順) that produce natural-looking characters. These rules are not arbitrary — they evolved over centuries of brush calligraphy to allow smooth, efficient hand movement. Learning them correctly the first time saves you from having to un-learn deeply ingrained habits later.
The five core rules cover approximately 90% of all characters and apply equally to hiragana, katakana, and kanji:
| Rule | Description | Example Characters | Notes |
|---|---|---|---|
| Top to Bottom | Write strokes from top, moving downward | 三, 言, き | Applies to both horizontal and vertical strokes stacked vertically |
| Left to Right | Horizontal strokes go left to right | 一, 川, に | Also applies to side-by-side vertical strokes |
| Horizontal Before Vertical | When strokes cross, horizontal comes first | 十, 七, 土 | Exception: some kanji like 田 and 王 follow different rules |
| Outside Before Inside | Enclosing strokes before contained strokes | 国, 回, の | Write the frame or outline, then fill in the interior |
| Closing Strokes Last | Bottom of enclosures is the final stroke | 口, 日, 目 | Draw left side, top, right side, then seal with bottom |
Hiragana Writing Guide
Hiragana characters are curvy and flowing — the roundness comes from their origin as simplified cursive kanji. The key to beautiful hiragana is smooth, confident strokes at a moderate pace. Writing too slowly creates shaky, uncertain-looking lines; writing too fast produces sloppy, unrecognizable shapes. Aim for a pace that feels deliberate but not labored.
Start with the five vowels (あいうえお) and spend time mastering their proportions before moving to consonant rows. These five characters appear everywhere and form the foundation of all other hiragana.
The following pairs are most frequently confused by learners. Knowing the key distinctions before you start writing will help you build correct habits from day one:
| Pair | Key Difference | Memory Tip |
|---|---|---|
| あ vs お | あ has a curved second stroke that hooks right; お has a vertical second stroke with a horizontal cross and a small loop below | お has a cross-shaped middle — like the letter O with a plus inside |
| は vs ほ | は has two separate strokes on the right side; ほ has a looped stroke connecting right side back to itself | ほ (ho) looks like it has an extra loop — "ho ho ho" |
| ぬ vs め | ぬ has a loop that opens to the right and a small tail; め has a loop that closes inward with a different exit angle | ぬ (nu) opens outward like noodles swirling out of a bowl |
| わ vs ね | わ ends with a simple downward stroke; ね has an additional loop at the bottom that circles back left | ね (ne) looks like it has a nest — a circle at the bottom |
| さ vs き | さ has two horizontal strokes and a third connecting stroke; き has three horizontal strokes and the bottom two are connected by a vertical | き has more strokes — think of it as さ with an extra layer |
Katakana Writing Guide
Katakana requires crisp angles and straight lines — where hiragana flows and curves, katakana turns sharply. This is because katakana were derived from parts of kanji, preserving angular, geometric qualities. Practice clean 90-degree angles wherever they appear. Poorly written katakana with rounded corners is regularly mistaken for hiragana or simply becomes unreadable.
Katakana is used for foreign loanwords (コーヒー, coffee; テレビ, television), foreign names, onomatopoeia, and emphasis (similar to italics in English). Since you will encounter it constantly in everyday Japanese, investing time in clean katakana is well worth it.
The most frequently confused katakana pairs, with tips for distinguishing them:
| Pair | Pronunciation | Key Difference | Memory Tip |
|---|---|---|---|
| ツ vs シ | tsu vs shi | ツ has two strokes slanting up-right, then a longer downward-right stroke; シ has two strokes slanting down-right, then a longer upward-right stroke | シ looks like a smiling face (strokes go up at end); ツ looks like a crying face (strokes go down) |
| ソ vs ン | so vs n | Same principle as ツ/シ but with only two strokes: ソ angles down then sweeps right; ン angles down then goes straight | Practice these as a set together with ツ and シ — same lesson, smaller scale |
| ク vs タ | ku vs ta | ク has two strokes: a short top and a sweeping bottom; タ has three strokes including a crossing diagonal | タ (ta) looks like a cross with a tail — three strokes total |
| ロ vs 口 | ro (katakana) vs mouth (kanji) | ロ is slightly wider and more squared; 口 (kanji for mouth) is taller and narrower. Context usually resolves ambiguity | In practice, context almost always makes the meaning clear |
| ウ vs ヲ | u vs wo | ウ has a small horizontal stroke at top then a U-shape; ヲ has a different top configuration with a horizontal then two more strokes | ヲ is rare in modern Japanese — you mainly see it as a grammatical particle |
Basic Kanji Stroke Order
Once you are comfortable with hiragana and katakana, the same stroke order rules apply directly to kanji. In fact, learning kanji stroke order often feels easier than it looks, because you are applying rules you already know to more complex shapes. The challenge is not memorizing new rules — it is applying the five core rules to characters with many more strokes.
For absolute beginners, these twelve kanji are the ideal starting point. They appear on the JLPT N5 exam, appear frequently in everyday life, and illustrate the stroke order rules clearly:
Notice how 日 and 月 follow the "outside before inside, close last" rule perfectly. 山 follows the left-to-right rule across three vertical strokes. These patterns repeat throughout the thousands of kanji you will encounter, so recognizing them early makes every new character easier to learn.
Writing Tools and Materials
The tools you use significantly affect the quality of your practice. Different tools train different aspects of your handwriting, and matching the right tool to your current level accelerates progress.
| Tool | Best For | Skill Level | Notes |
|---|---|---|---|
| Mechanical Pencil (0.5mm) | Everyday study, erasable practice, learning stroke order | Beginner–Intermediate | Best value tool; allows correction without penalty |
| Fine-tip Ballpoint Pen | Writing on forms, everyday note-taking in Japan | Beginner–Advanced | Japanese Uni-ball or Pilot pens are widely recommended |
| Felt-tip Sign Pen (サインペン) | Clean, professional-looking characters for notes or cards | Intermediate | Pentel Sign Pen is a classic; produces confident-looking lines |
| Brush Pen (筆ペン) | Traditional calligraphy feel, greeting cards, name practice | Intermediate–Advanced | Pentel Fude Touch or Kuretake No. 8; teaches pressure sensitivity |
| Ink Brush + Ink (毛筆) | Calligraphy (書道), deep understanding of character structure | Advanced | Not practical for everyday use; rewarding as a cultural practice |
| Genkouyoushi (原稿用紙) | Proportion training, structured character sizing | Beginner–Intermediate | Available at Daiso; also free printable versions online |
| Grid Notebook (方眼ノート) | Free-form practice with light guidance | Intermediate–Advanced | Kokuyo Campus grid notebooks are popular in Japan |
Daily Practice Routine
Consistency beats intensity. A 15-minute daily session produces better results than a 2-hour weekend marathon, because spaced repetition and motor memory consolidation happen during sleep. The following schedule takes a learner from zero to confident hiragana, katakana, and basic kanji in approximately 10 weeks.
| Week | Focus | Daily Session (15–20 min) | Goal by End of Week |
|---|---|---|---|
| Week 1 | Hiragana vowels + か row | Trace 5 min → write from memory 10 min → check with chart 5 min | Write あいうえお and かきくけこ without reference |
| Week 2 | さ, た, な rows | Review previous rows (5 min) → new characters (10 min) → write short words (5 min) | Write simple words: なか, さかな, たこ |
| Week 3 | は, ま, や, ら, わ rows | Quick review drill (5 min) → new rows (10 min) → write your name if possible (5 min) | Complete all 46 hiragana without reference |
| Week 4 | Hiragana words + dakuten | Write 10 common words from memory → write sentences (basic greetings) | Write 20+ hiragana words confidently including が, ざ, だ, ば, ぱ |
| Weeks 5–6 | Katakana (all rows) | Same structure as hiragana weeks; focus on sharp angles | Write all 46 katakana without reference; write 10 loanwords |
| Weeks 7–8 | Basic kanji (numbers, days, body parts) | Learn 3–4 kanji per day with stroke order; write in context sentences | Write and recognize 20–30 basic kanji |
| Weeks 9–10 | Mixed practice + speed | Write diary sentences mixing hiragana, katakana, and kanji; timed drills | Write a short paragraph (5–6 sentences) from memory with correct spacing |
Spend the first 3 minutes of every session reviewing yesterday's characters before introducing anything new. This prevents forgetting.
Tracing is useful for the first encounter with a character — after that, always write from memory. Tracing without recall doesn't build retention.
Always practice characters inside real words. Writing なな alone is less effective than writing なな (seven), なまえ (name), or なつ (summer).
Common Handwriting Mistakes to Avoid
Even motivated learners develop habits that make their handwriting hard to read. Awareness of the most common mistakes allows you to self-correct before they become ingrained.
Characters should all occupy roughly the same space. When some characters are large and others tiny, text becomes difficult to read. Use genkouyoushi grids until your sizing is natural.
Katakana corners must be sharp. Rounding them either makes the character look like hiragana or makes it unrecognizable. Slow down and consciously stop at each corner before changing direction.
Japanese strokes end in three ways: tome (stop flat), hane (flick upward), or harai (taper and lift). Writing every stroke as a flat stop creates stiff, unnatural characters. Check your reference tool for each character's ending types.
In Japanese, character spacing is uniform — there are no spaces between words. Beginners often leave gaps where they think word breaks are. Practice writing full sentences on grid paper to train consistent spacing.
Dakuten (゛) and handakuten (゜) are written small in the upper-right corner of the character box. Writing them too large or in the wrong position creates confusion between, for example, は and ぱ or か and が.
Some learners write characters "however looks right" without checking stroke order. This feels faster but produces unnatural-looking characters that become increasingly difficult to correct. Learn order once correctly — it pays off permanently.
Practice Methods
The best practice method depends on where you are in your learning journey. Beginners benefit most from structured tracing followed by independent writing. Intermediate learners need to write in context — words, then sentences. Advanced learners should write from dictation and spontaneous note-taking to push toward true fluency.
A practical progression:
- Tracing phase: Use printed practice sheets or our Stroke Order tool to understand each character's construction. Trace 3–5 times maximum, then stop.
- Grid paper phase: Write on genkouyoushi independently, checking your work against the Hiragana Chart or Katakana Chart after completing each row — not during.
- Word writing phase: Write vocabulary words you are actively learning. This links character writing to meaning, doubling the benefit of practice.
- Sentence writing phase: Write full sentences — greetings, short diary entries, transcriptions of song lyrics or dialogue you enjoy. This develops spacing and flow.
- Dictation phase: Have a study partner (or text-to-speech tool) read Japanese words aloud while you write. This simulates real-world note-taking conditions.
Above all, remember that beautiful Japanese handwriting is a skill built gradually. Every Japanese person learned these characters as a child through years of practice — and many adults still practice their handwriting. Be patient with your progress, focus on accuracy before speed, and enjoy the process of connecting with one of the world's most visually distinctive writing systems.
🔧 Try These Tools
Frequently Asked Questions
Does stroke order really matter? ▼
Yes — stroke order matters for several important reasons. First, it produces more natural-looking characters because each stroke is designed to flow into the next at a specific angle and direction. Second, it builds motor memory: when you learn the correct order, your hand knows what comes next without conscious thought, which is essential for reading and writing fluently. Third, stroke order affects character recognition — some strokes look different depending on whether they were written first or last (the entry and exit angles change). Finally, Japanese teachers, pen pals, and colleagues will notice incorrect stroke order in handwritten text, so learning it correctly from the start saves you the effort of un-learning bad habits later.
How long should I practice handwriting daily? ▼
Even 10–15 minutes of focused, deliberate practice produces significant results within a few weeks. The key principle is quality over quantity: writing 5 characters with correct stroke order, proper proportions, and clean lines is worth far more than filling a page with sloppy repetitions. For beginners, a structured approach works best — dedicate one session to a single row (e.g., the あ row) before moving on. Once you have all 46 hiragana, spend a week on full-word practice before starting katakana. Most learners who practice 15 minutes daily can write all hiragana confidently within 3–4 weeks.
Is handwriting necessary in the digital age? ▼
While not strictly required for everyday digital communication, handwriting offers both practical and cognitive benefits that are hard to replace. Practically, you will need handwriting in Japan for filling out forms (住民票, postal forms, medical paperwork), addressing envelopes, signing contracts, writing greeting cards (年賀状 at New Year, 暑中見舞い in summer), and taking handwritten notes in meetings or classes. Cognitively, research consistently shows that hand-writing characters leads to significantly better retention than typing — the physical act of drawing each stroke creates a strong encoding in long-term memory. Learners who skip handwriting often struggle to recognize characters they have only ever typed.
What is the best paper or notebook for practicing Japanese handwriting? ▼
For beginners, genkouyoushi (原稿用紙) — grid paper with square boxes — is ideal because it gives you a framework for proportions. Each character should fill roughly 80% of its box, with a small margin on all sides. Once you are comfortable with individual characters, switch to plain grid paper (方眼紙) which has smaller guides without the rigid boxes. Dedicated Japanese practice notebooks (練習帳) from Daiso or stationery shops are inexpensive and include guide marks. Avoid blank paper until you have good muscle memory for proportions. For stroke order practice specifically, our online Stroke Order tool means you can skip printing reference sheets entirely.
How do I write small kana like っ, ゃ, ゅ, ょ correctly? ▼
Small kana (小文字) are written with the same stroke order as their full-size versions but are scaled down to roughly half the width and height, and positioned in the bottom-left quarter of the character box. This positioning is important: a っ that sits in the center of the box looks like a full-size つ. Common beginner mistakes include writing small kana too large, centering them, or placing them too high. When writing by hand, it helps to lightly mark the box quarters with a pencil first until your eye is trained. Small kana appear in combinations like きゃ (kya), りょ (ryo), and double-consonant words like ざっし (雑誌, magazine).
Language Education Specialist
Yang Lin is a Taiwan-based bilingual educator specializing in Mandarin Chinese and Japanese instruction. With over 10 years of experience helping learners worldwide master East Asian languages, Yang creates practical tools and structured study guides that make language learning accessible, effective, and enjoyable. She holds a degree in Applied Linguistics and has taught students from more than 20 countries.
🈶 Interested in Chinese? Read our Chinese learning blog →